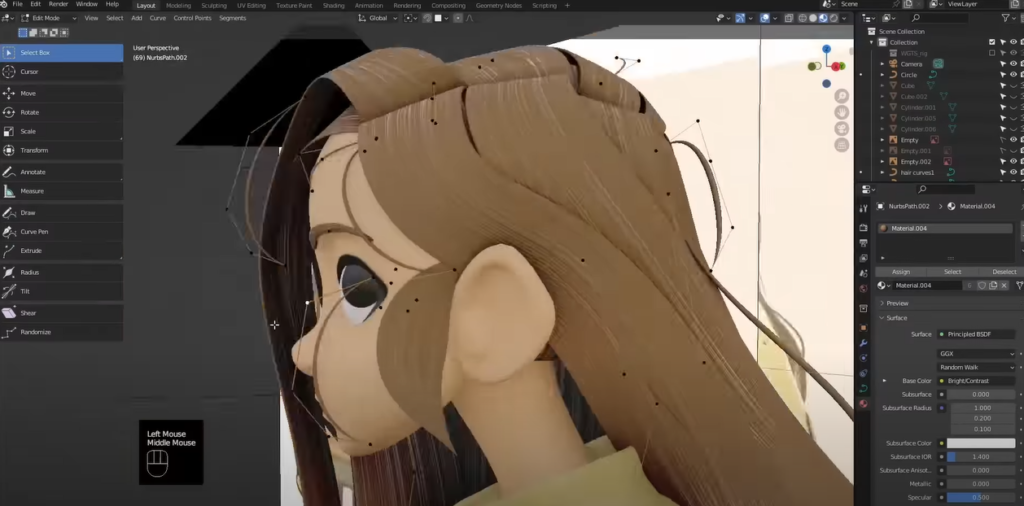
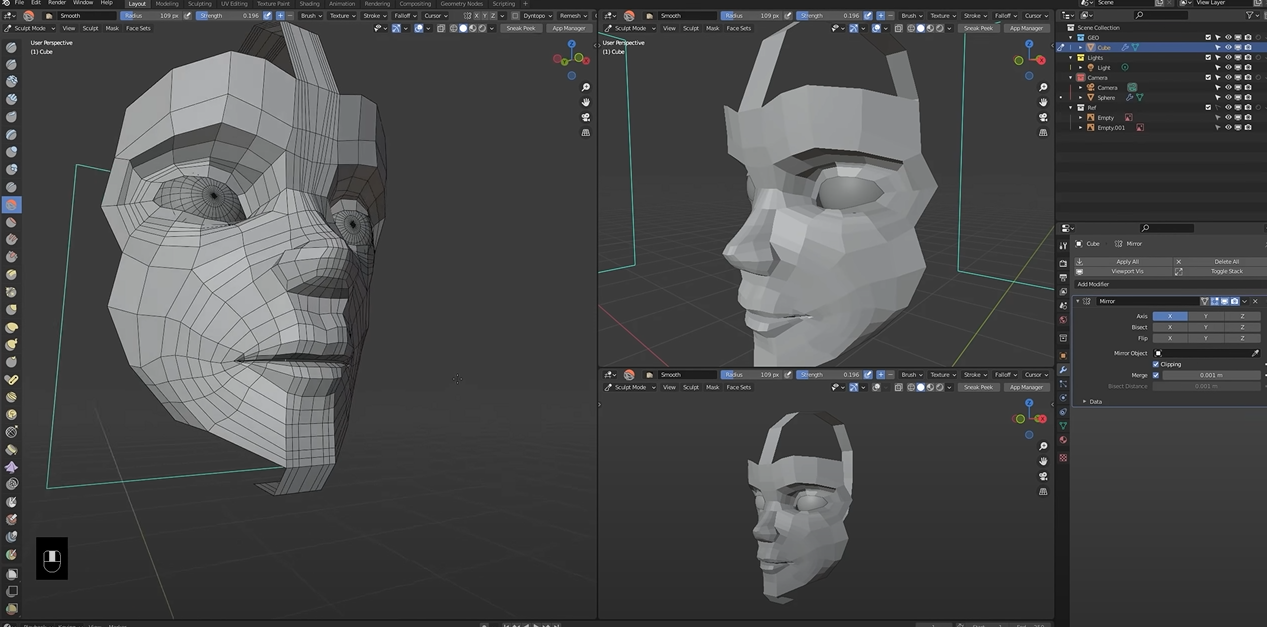
3D character modeling has become an essential skill in many industries, including video games, animation, and film. It refers to the process of creating a three-dimensional representation of a character using specialized software. This article aims to delve into the various aspects of this fascinating discipline.
The Fundamental Concepts of 3D Modeling
3D modeling is an integral part of digital content creation, used in industries ranging from animation and gaming to architecture and medicine. It is the process of creating a three-dimensional object within a software environment. Here, we will delve into the fundamentals of 3D modeling, covering techniques from Polygonal Modeling to Rendering.
Polygonal Modeling
Polygonal modeling is a method of creating 3D models by piecing together small polygons. This is similar to how a mosaic works, where multiple small pieces come together to form an image. Polygons – typically triangles or quadrilaterals – form the ‘mesh’ of the model. The key benefits and drawbacks of this technique are as follows:
- Advantages: Polygonal modeling is straightforward to understand and offers full control over the model, as you can adjust each polygon individually;
- Disadvantages: For models with complex shapes or high levels of detail, this process can become tedious and time-consuming.
NURBS Modeling
NURBS, or Non-Uniform Rational B-Splines, is a mathematical model typically used for producing and representing curves and surfaces. This technique is often found in industrial design or automotive design.
- Advantages: NURBS modeling results in very smooth surfaces and is ideal for creating mechanical objects;
- Disadvantages: It can be complex to master, and is not particularly suited to creating organic or irregular shapes.
Sculpting
Sculpting in 3D modeling is similar to sculpting clay in the physical world. The model is treated as a lump of digital clay that you can shape and detail.
- Advantages: Sculpting is excellent for creating intricate details like wrinkles or scars and allows for a high level of artistic freedom;
- Disadvantages: This method demands powerful hardware and is not suitable for low-poly models.
Texturing
Texturing is akin to giving skin to your 3D model. It’s the process that defines the surface appearance of a model, which could range from the skin tone of a character to the shiny surface of an apple.
- Advantages: Texturing adds a high degree of realism and detail to the model;
- Disadvantages: It requires a solid understanding of UV mapping, which is the 3D modeling process of making a 2D image representation of a 3D model’s surface.
Rigging
Rigging involves creating a digital skeleton for your model. The skeleton’s ‘bones’ are then used to set how the model moves and deforms.
- Advantages: Rigging enables the animation of models and gives you control over their deformations;
- Disadvantages: It is a complex and time-consuming process, especially for models with a high level of detail or intricate movement.
Rendering
Rendering is the final stage of 3D modeling, where the software calculates variables such as light placement and surface types to generate a 2D image or animation.
- Advantages: Rendering produces the final image or animation, bringing all your previous work together;
- Disadvantages: Rendering can be slow and is heavily dependent on hardware. It can require a lot of computational power for high-quality results.
Comparative Analysis of 3D Modeling Techniques
| Technique | Advantages | Disadvantages |
|---|---|---|
| Polygonal Modeling | Simple to understand, full control over model. | Tedious for complex shapes. |
| NURBS Modeling | Produces smooth surfaces, ideal for mechanics. | Complex to master, not for organic shapes. |
| Sculpting | High detail, offers artistic freedom. | Requires powerful hardware, not for low-poly. |
| Texturing | Adds realism and detail to model. | Requires understanding of UV mapping. |
| Rigging | Enables animation, control over deformations. | Complex, time-consuming process. |
| Rendering | Produces final image or animation. | Dependent on hardware, can be slow. |
The choice of which technique to use can largely depend on the final use of the model, the level of detail required, and the capabilities of your hardware. Understanding these fundamentals will provide you with a solid foundation to explore the vast and creative world of 3D modeling.
The 3D Character Modeling Process in Detail

Animation is the final step in the 3D character modeling process. Here, the animators manipulate the rigged model to create movement. This step includes keyframe animation, motion capture, and even physics-based simulation.
Let’s take a closer look at these steps using a table to illustrate the primary goals, tools used, and the time typically invested in each:
| Steps | Primary Goal | Tools Often Used | Typical Time Investment |
|---|---|---|---|
| Concepting and Ideation | Create a 2D blueprint for the character | Pen and paper, digital drawing software like Adobe Photoshop or Procreate | 5 – 15% of total time |
| Blocking | Create a rough 3D model | 3D modeling software like Blender, Maya, or 3DS Max | 5 – 10% of total time |
| Sculpting | Add details to the model | Digital sculpting tools like ZBrush or Mudbox | 15 – 25% of total time |
| Retopology | Optimize the model for animation | Retopology tools built into 3D software, standalone tools like TopoGun | 10 – 20% of total time |
| UV Mapping | Prepare the model for texturing | UV mapping tools in 3D software | 5 – 10% of total time |
| Texturing and Shading | Give the model color and texture | Texture painting software like Substance Painter, 3D software shading tools | 15 – 25% of total time |
| Rigging | Build a skeleton for the model | Rigging tools in 3D software | 10 – 20% of total time |
| Animation | Create movement | Animation tools in 3D software | Varies widely, often as much or more time than all previous steps combined |
Note: The time percentages are rough estimates and can vary greatly depending on the complexity of the character and the project’s demands.
To summarize the process:
- Concepting and Ideation: It all begins with an idea and a 2D design;
- Blocking: This is the starting point of 3D modeling, using simple shapes to make a rough model;
- Sculpting: Artists add details to make the character come to life;
- Retopology: The model is optimized to make it animation-ready;
- UV Mapping: A step to prepare the model for texturing;
- Texturing and Shading: Colors and textures are added, making the character look real;
- Rigging: The character gets its skeleton, allowing it to move;
- Animation: The character starts moving, bringing the entire creation to life.
Each step is crucial and needs a different set of skills and tools. Making a 3D character is a meticulous process but with a clear understanding and methodical approach, artists can bring incredible characters to life.
Conclusion
3D character modeling is a complex and rewarding discipline. Whether for professional work or personal projects, it allows artists to create unique, lifelike characters that can truly come to life. For a more hands-on understanding, check out this video tutorial.
FAQ
For 3D modeling, you’ll need a computer with a powerful processor, a dedicated graphics card, and at least 16GB of RAM.
There are many excellent 3D modeling programs available. Maya and 3DS Max are industry standards, particularly in the gaming and film industries. ZBrush is popular for high-resolution sculpting, and Blender is a robust, free alternative.
While it can be beneficial to have drawing skills, particularly for concepting, it’s not essential. Many 3D artists don’t have a traditional art background but are still able to create stunning 3D models.
The time it takes to learn 3D modeling varies depending on the person. If you practice regularly, you could become proficient in the basics in a few months. However, like any skill, mastery takes time and consistent practice.
