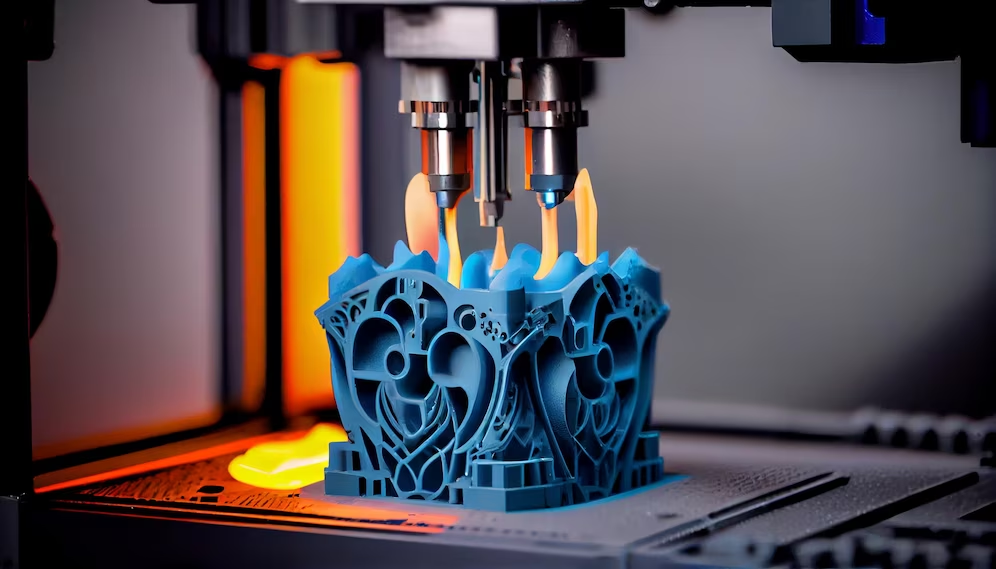
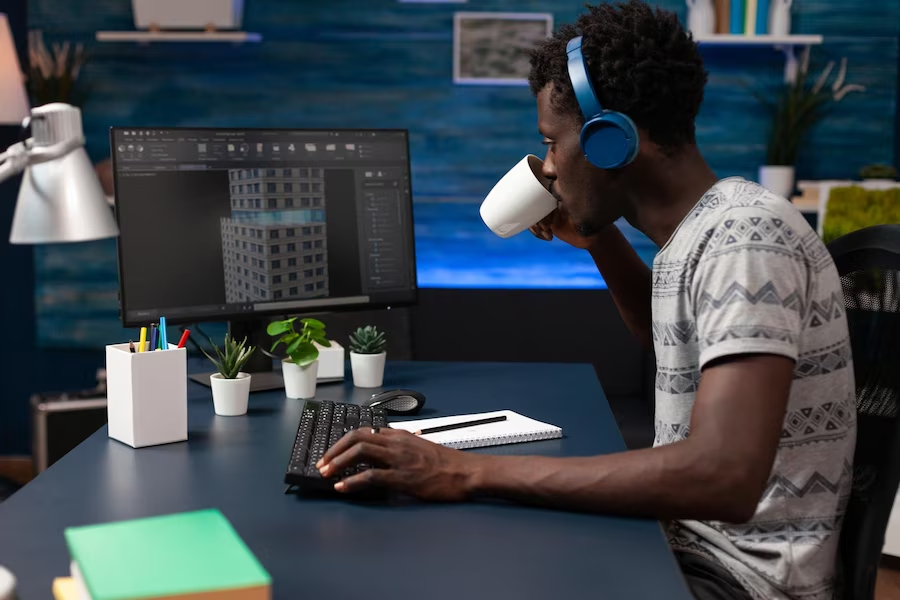
Blender, as a pioneer in the sphere of open-source 3D modeling software, has distinguished itself as an exceptional tool for creating models suitable for 3D printing. Whether you’re designing detailed ornaments, functional prototypes, or intricate art pieces, Blender equips you with the comprehensive tools needed to bring your concepts to reality.
Setting Up the Perfect Workspace in Blender
Before diving into the creation process, setting up an accurate workspace is crucial. The aim is to ensure that the virtual scale in Blender aligns with the real-world scale that your 3D printer will use.
- Navigate to the ‘Scene Properties’ tab;
- Set the ‘Unit System’ to ‘Metric’ and ‘Unit Scale’ to ‘0.001’. This configuration represents millimeters, which are commonly used in the 3D printing industry;
- Ensure the ‘Length’ setting is also set to ‘Millimeters’.
This initial setup step can be a massive time-saver further down the line and guarantees that the size of your 3D model on your computer screen is exactly what will be printed.
Key Features of Blender for 3D Modeling
Blender presents a host of features designed to aid in 3D modeling. Understanding these features is essential to creating high-quality models that are ready for printing.
Mesh Modeling
Mesh modeling, which involves manipulating an object’s vertices, edges, and faces, forms the foundation of most modeling tasks in Blender. There are many tools available for mesh editing, including:
- Extrude (E): Extrude is used to pull out new geometry from existing faces, edges, or vertices. This is one of the most commonly used tools in 3D modeling;
- Loop Cut (Ctrl + R): Loop cut allows you to add new geometry to your mesh by adding loops of vertices;
- Bevel (Ctrl + B): The Bevel tool allows you to add rounded edges to your model, improving realism and breaking up sharp corners that might be difficult to print;
- Subdivide (W + Subdivide): The subdivide tool splits existing geometry into smaller faces, providing more detail for intricate designs.
Sculpting
Sculpting in Blender allows for more artistic freedom, akin to molding clay. This approach is best suited for creating organic shapes or intricate details. Key sculpting tools include:
- Draw: This tool allows you to ‘draw’ raised areas on your model;
- Clay: The clay tool adds volume to your model without increasing peak height, making it ideal for building up large areas;
- Crease: This tool creates sharp or deep indentations, great for emphasizing detail;
- Grab: The grab tool lets you pull out or push in areas of your model, handy for making large-scale changes.
Modifiers
Modifiers in Blender provide non-destructive ways of altering your 3D model’s geometry. They can be applied and adjusted at any time without permanently affecting the base mesh, until applied explicitly. For 3D printing, some modifiers are particularly useful:
- Boolean: This modifier allows you to combine multiple meshes in various ways – union, difference, and intersect;
- Mirror: The mirror modifier replicates your model across a given axis, ensuring perfect symmetry;
- Solidify: This modifier is used to give 2D planes a 3D volume, perfect for adding thickness to thin walls in your model;
- Subdivision Surface: This modifier divides the faces of a mesh into smaller faces, giving a smoother appearance.
Materials and Textures
While materials and textures do not affect the 3D printing process, they play an essential role in visualizing your design in Blender. They provide a sense of the final look of your model and can help highlight potential design issues before printing.
Essential Tips for Successful Blender Modeling for 3D Printing

Modeling for 3D printing requires a slightly different approach than modeling for visual output like video games or animations. Here are some tips to guide you towards creating print-ready models:
- Design with Manifold Geometry: Ensuring your model is ‘manifold’ or ‘watertight’ is crucial. This means that every edge in your model is connected to exactly two faces, with no gaps or holes. Non-manifold models can confuse the 3D printer and result in failed prints;
- Consider Overhangs: Overhangs greater than 45 degrees typically require support structures during printing. These supports can be difficult to remove and may leave marks on your print. Try to design with this in mind and limit overhangs where possible;
- Maintain Adequate Wall Thickness: Walls that are too thin may not print correctly, while walls that are overly thick can lead to unnecessary material usage and longer print times. Use the ‘Solidify’ modifier to manage your model’s wall thickness;
- Avoid Intersections: Intersecting geometry can confuse a 3D printer about what areas are solid and what are empty. Use the ‘Boolean’ modifier to merge intersecting objects together, or separate them entirely.
Solutions to Common Issues in Blender Modeling for 3D Printing
| Common Issue | Solution |
|---|---|
| Non-manifold Geometry | Use tools such as ‘Select Non-Manifold’ under ‘Select’ in the ‘Edit Mode’ menu to find and fix these issues. |
| Overhangs | Design the model with the 3D printing process in mind or use support structures during printing. |
| Thin Walls | Use the ‘Solidify’ modifier to adjust wall thickness. |
| Intersections | Use the ‘Boolean’ modifier to properly join intersecting objects together or separate them entirely. |
For a more detailed and visual exploration of these concepts, refer to this video tutorial on Blender modeling for 3D printing:
Conclusion
Blender offers a robust and versatile environment for creating detailed and intricate 3D models for printing. It’s a journey that begins with understanding the workspace setup, appreciating the key features, applying practical modeling tips, and ultimately seeing your creations come to life. With diligence, practice, and the wealth of tools at your disposal, you’ll soon be able to take your 3D concepts from the digital workspace of Blender into tangible reality.
FAQ
Blender provides a ‘3D Print Toolbox’ add-on that checks for common issues that might affect printability, such as non-manifold geometry, overhangs, and thin walls.
Blender doesn’t directly support slicing. After creating and preparing your 3D model in Blender, you’ll need to export it to a slicer program, such as Ultimaker Cura or PrusaSlicer.
The most commonly used formats for 3D printing are STL and OBJ. Both are supported by Blender and are widely compatible with slicing software.
Make sure you’ve set up the correct scale in Blender. Also, double-check the scale settings in your slicing program before printing. When exported correctly, the dimensions in Blender should match those in the slicer.
