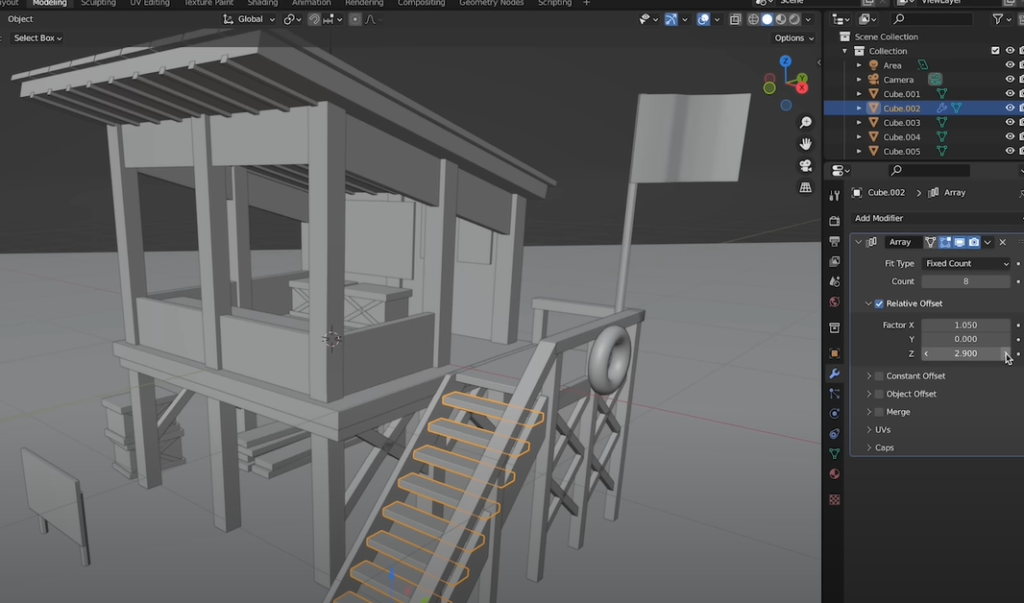
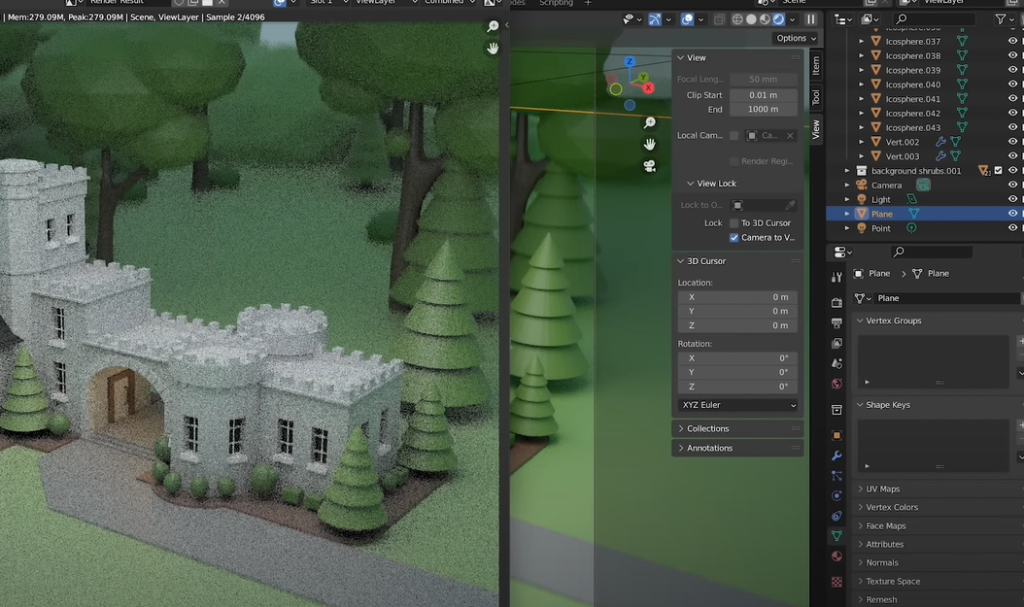
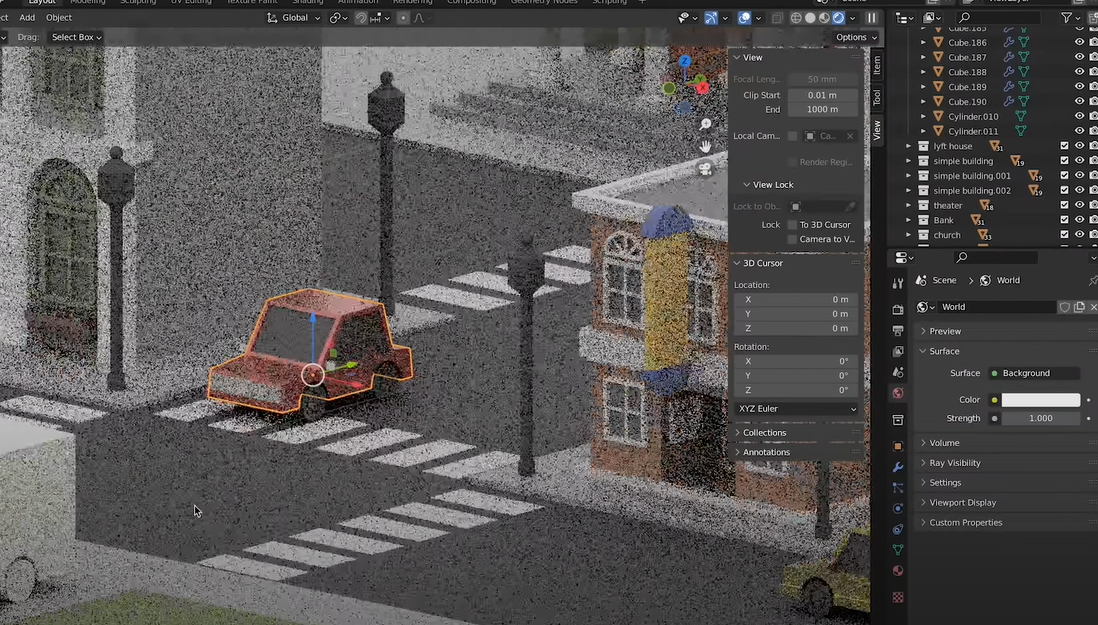
The 3D viewport is your primary workspace in Blender, where you interact with your 3D models and scene elements. You can rotate the view (middle mouse button), pan it (Shift + middle mouse button), and zoom in or out (scroll wheel).
Timeline
Situated at the bottom, the timeline is integral for animation tasks, allowing you to scrub through your animation frames and define keyframes for object properties.
Outliner
The outliner is a panel located at the top right corner of the default layout. It provides an overview of the data in your scene, displaying a hierarchical list of all objects, lights, cameras, and more. Here, you can select objects, make them visible or invisible, and organize them in collections.
Properties Editor
Right below the Outliner is the Properties Editor, where you’ll find numerous tabs dedicated to different aspects of the selected object and the scene:
| Property Category | Description |
|---|---|
| Render Properties | Set the render engine (Eevee, Cycles, or Workbench) and adjust associated settings. |
| Output Properties | Configure your final output resolution, frame rate, and file format. |
| View Layer Properties | Set layer-based options, particularly useful in complex scenes and compositing. |
| Scene Properties | Adjust the settings related to the overall scene, including units, gravity for physics simulations, and more. |
| World Properties | Set environmental elements, such as the background color or environmental lighting. |
| Object Properties | Adjust the selected object’s position, rotation, scale, and other properties. |
| Modifier Properties | Add and tweak modifiers to change an object’s geometry non-destructively. |
| Material Properties | Create and modify the materials applied to your object. |
| Texture Properties | Edit the textures that are a part of the selected material. |
Getting Started: Primitive Shapes and Transformations

Blender offers a range of primitive shapes that serve as the foundation of your 3D models. To add a primitive shape to your scene:
Blender provides a diverse set of primitive shapes, which serve as the building blocks for your 3D models. These shapes include the Cube, Sphere, Cylinder, Cone, and more. To add a primitive shape to your scene, follow these steps:
- Ensure you are in ‘Object Mode’: Before adding any shapes, make sure you are in ‘Object Mode.’ You can check the current mode in the top left corner of the 3D Viewport;
- Access the ‘Add’ menu: To add a primitive shape, press ‘Shift + A.’ Doing so will open the ‘Add’ menu, which contains various categories;
- Select the primitive shape: From the ‘Add’ menu, navigate to ‘Mesh’ and choose the primitive shape you want to add. For instance, you can select ‘Cube’ for a basic 3D cube or ‘Sphere’ for a rounded object.
Now that you’ve added a primitive shape to your scene let’s learn how to manipulate and transform it creatively.
Once the primitive is added to the scene, you can transform it:
Transformations are fundamental to 3D modeling, and Blender offers a versatile set of tools for this purpose. Let’s explore the three primary transformations: Translation, Rotation, and Scaling.
- Translation: Translation involves moving your object along the X, Y, or Z axis. It allows you to change the position of the object in the 3D space. Here’s how you can perform translation:
| Step | Action | Description |
|---|---|---|
| 1 | Select the object | Click on the primitive shape you want to translate to select it. |
| 2 | Press ‘G’ on your keyboard | The ‘G’ key activates the translation mode. |
| 3 | Choose the axis | After pressing ‘G,’ you can specify the axis along which you want to move the object. |
| Press ‘X’ to move it along the X-axis, ‘Y’ for the Y-axis, and ‘Z’ for the Z-axis. |
- Rotation: Rotation enables you to spin your object around the X, Y, or Z axis, altering its orientation in 3D space. To rotate a primitive shape, follow these steps:
| Step | Action | Description |
|---|---|---|
| 1 | Select the object | Click on the primitive shape you want to rotate to select it. |
| 2 | Press ‘R’ on your keyboard | The ‘R’ key initiates the rotation mode. |
| 3 | Choose the axis | After pressing ‘R,’ specify the axis around which you want to rotate the object. |
| Press ‘X’ for the X-axis, ‘Y’ for the Y-axis, and ‘Z’ for the Z-axis. |
- Scaling: Scaling allows you to resize your object along a specific axis or uniformly, making it larger or smaller. Here’s how you can scale a primitive shape:
| Step | Action | Description |
|---|---|---|
| 1 | Select the object | Click on the primitive shape you want to scale to select it. |
| 2 | Press ‘S’ on your keyboard | The ‘S’ key activates the scaling mode. |
| 3 | Choose the axis (optional) | If you want to scale the object along a specific axis, press ‘X’ for the X-axis, ‘Y’ for the Y-axis, or ‘Z’ for the Z-axis. For uniform scaling, you can skip this step. |
Tips for Creative Transformations
- Combine transformations: Experiment by combining translation, rotation, and scaling to create unique and intricate shapes;
- Pivot points: Use pivot points to control the center of rotation or scaling. You can change the pivot point from the top menu or use shortcuts like ‘.’ for the 3D cursor or ‘Shift + S’ to snap to selected elements;
- Precise transformations: For precise transformations, you can type numerical values while in translation, rotation, or scaling mode.
Advanced Modeling: Tools and Techniques
Once you’re familiar with basic transformations, you can start modeling in earnest using a wide array of tools and techniques.
Edit Mode
Press Tab to switch between Object Mode and Edit Mode. In Edit Mode, you can manipulate individual vertices, edges, and faces.
Selection Tools
Use these tools to select different elements of your object:
- Box Select (B): Click and drag to create a rectangular selection area;
- Circle Select (C): Click and drag to create a circular selection area;
- Lasso Select (Ctrl + Left Mouse Button): Click and drag to create a custom selection area.
Modeling Tools
- Extrude (E): Extend a new section of the mesh from a selected vertex, edge, or face. Select the element(s) and press E to extrude;
- Inset Faces (I): Creates a new set of faces within the selected faces, useful for creating complex structures;
- Loop Cut (Ctrl + R): Adds a new loop of vertices along your object. Hover over your mesh after pressing the key combination to see a preview of the loop cut;
- Knife (K): Allows you to make custom cuts on your object’s mesh;
- Bevel (Ctrl + B): Rounds off edges or vertices by creating a transition surface between adjacent faces;
- Bridge Edge Loops (in the Face menu): Creates a bridge of faces between two parallel loops of edges.
Modifiers
Modifiers are automated operations that dynamically modify an object’s geometry in different ways. They are applied in a stack, meaning the order of modifiers can significantly affect the outcome.
Some crucial modifiers for 3D modeling include:
- Subdivision Surface: Subdivides the faces of the mesh to create a smoother appearance;
- Mirror: Mirrors your mesh along a specified axis, extremely useful for symmetrical modeling;
- Boolean: Uses other objects to add to, subtract from, or intersect with your object’s geometry;
- Array: Creates copies of your object in a pattern.
For an in-depth look at these tools, check out this video:
Creating Materials and Textures

Blender uses a node-based system for materials and textures, allowing you to create intricate material properties and effects.
Creating Materials
To create a material:
- Select the object you want to apply the material to;
- Go to the Material Properties tab in the Properties Editor;
- Click on the ‘New’ button to create a new material.
In the new material, you’ll find several properties:
- Surface: This defines the BSDF (Bidirectional Scattering Distribution Function), which determines how light interacts with the material. Commonly used BSDFs include Diffuse, Glossy, and Glass;
- Base Color: Defines the main color of the material;
- Subsurface: Defines how much light penetrates the surface before being absorbed, affecting the material’s apparent softness;
- Metallic: A binary (0 or 1) input determining whether the material is a metal;
- Specular: Determines the intensity and color of the specular reflection;
- Roughness: Controls how sharp or diffused the reflection is.
Applying Textures
To apply a texture to your material:
- In the Shader Editor, add an ‘Image Texture’ node (Shift + A > Texture > Image Texture);
- Open your desired texture image in the Image Texture node;
- Connect the ‘Color’ output of the Image Texture node to the ‘Base Color’ input of the BSDF node.
Rendering in Blender
Rendering is the process of generating a 2D image or animation from your 3D scene. To set up a render:
- Setting Up the Camera: Position the 3D viewport to the desired angle, and press Ctrl + Alt + Numpad 0 to snap the camera to your current view;
- Lighting: Add lights to your scene (Shift + A > Light) and position them to illuminate your model;
- Rendering: In the Render Properties tab, choose your render engine (Eevee for speed, Cycles for realism), set your desired resolution and output file format in the Output Properties tab, and finally press F12 to start rendering your scene.
Conclusion
Blender is a powerful and versatile 3D software that offers a detailed, step-by-step guide to 3D modeling, animation, rendering, compositing, motion tracking, and game creation. The 3D viewport serves as the primary workspace, where users can interact with their 3D models and scene elements by rotating, panning, and zooming. The timeline facilitates animation tasks, allowing users to scrub through animation frames and define keyframes for object properties. The outliner provides an overview of scene data, enabling object selection, visibility adjustments, and organization in collections. The properties editor offers various tabs for fine-tuning aspects of selected objects and the scene, such as render properties, output properties, view layer properties, and more.
FAQ
You can save your work by going to ‘File > Save’. Blender uses the ‘.blend’ file format.
To move the 3D cursor, simply shift + right-click anywhere in the 3D viewport.
Yes, you can create custom shortcuts. Go to ‘Edit > Preferences > Keymap’ to set them.
No, Blender is a versatile 3D software that also supports animation, rendering, compositing, motion tracking, and even game creation.
Yes, Blender is compatible with Mac OS, Windows, and Linux.
